Welcome to the second last article in a series dedicated to my journey in Home Theatre centred around my personal Home Theatre. A list of all articles in the series is below:
Introduction, Background & Hobby – The Introduction to Home Theatre
Training and Leveling Up
The UK Revolution – The Next Step
Design, Modelling & Specification
Physical Installation
Final Photos and Future Upgrades
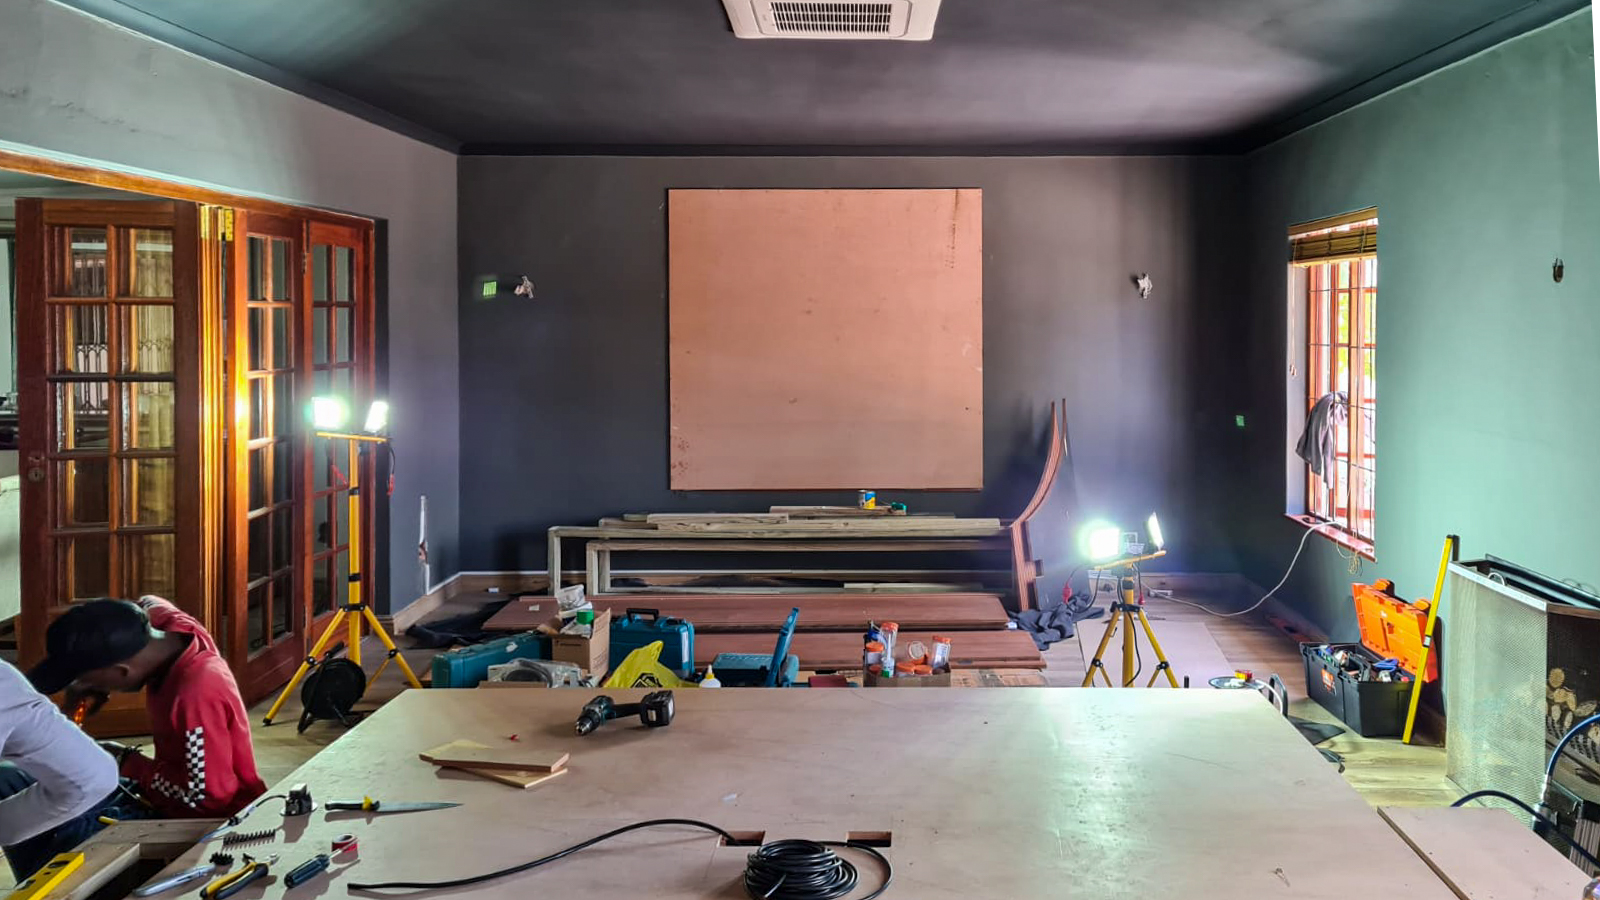
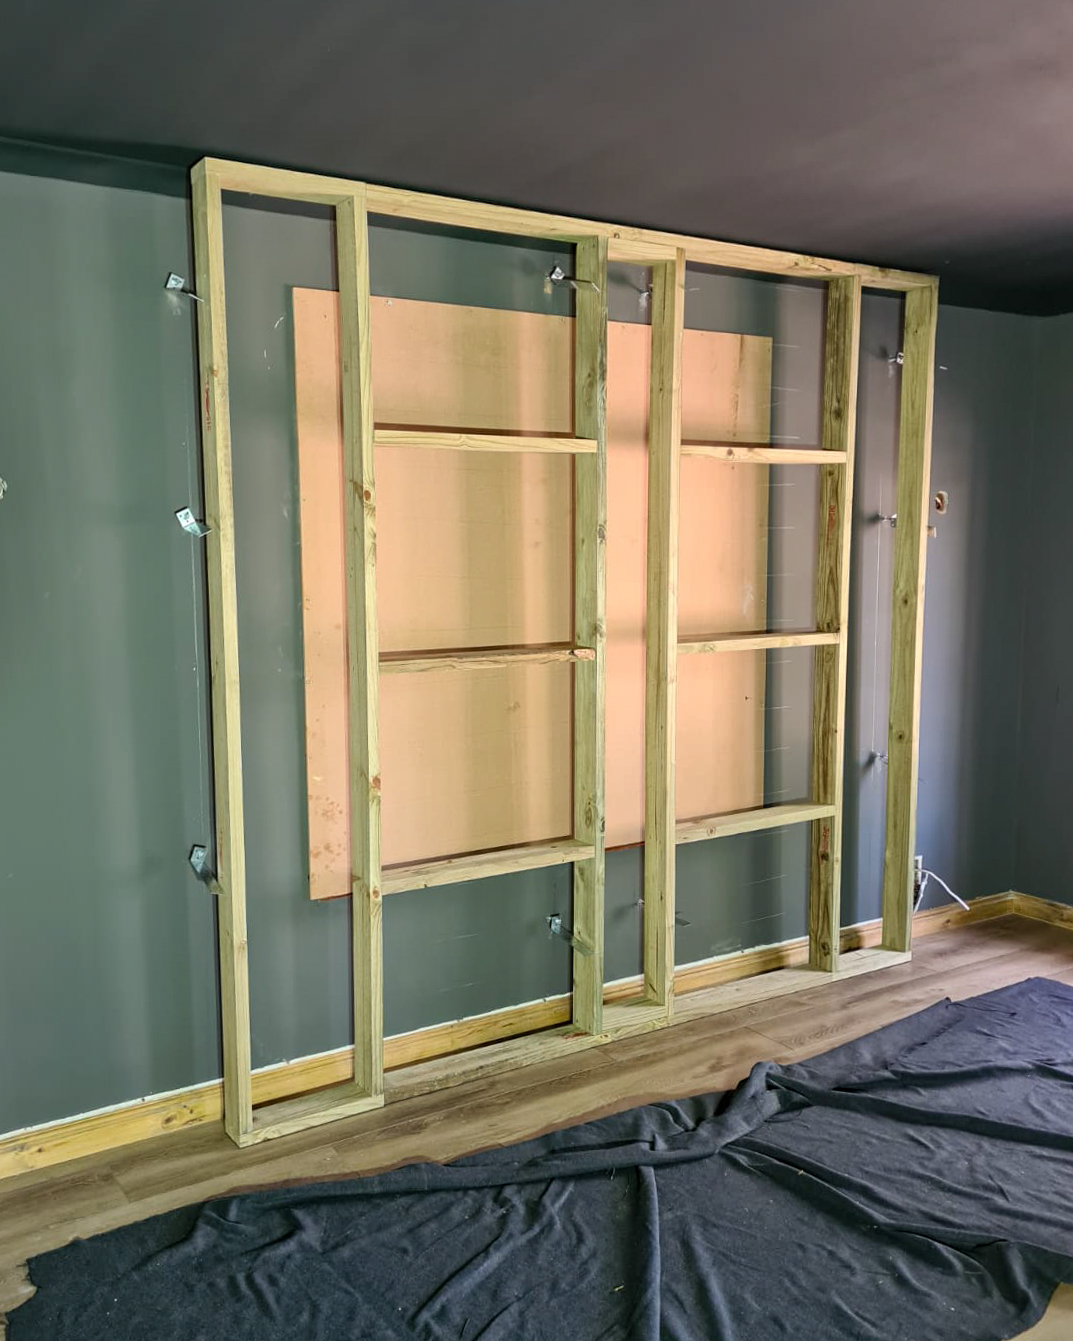
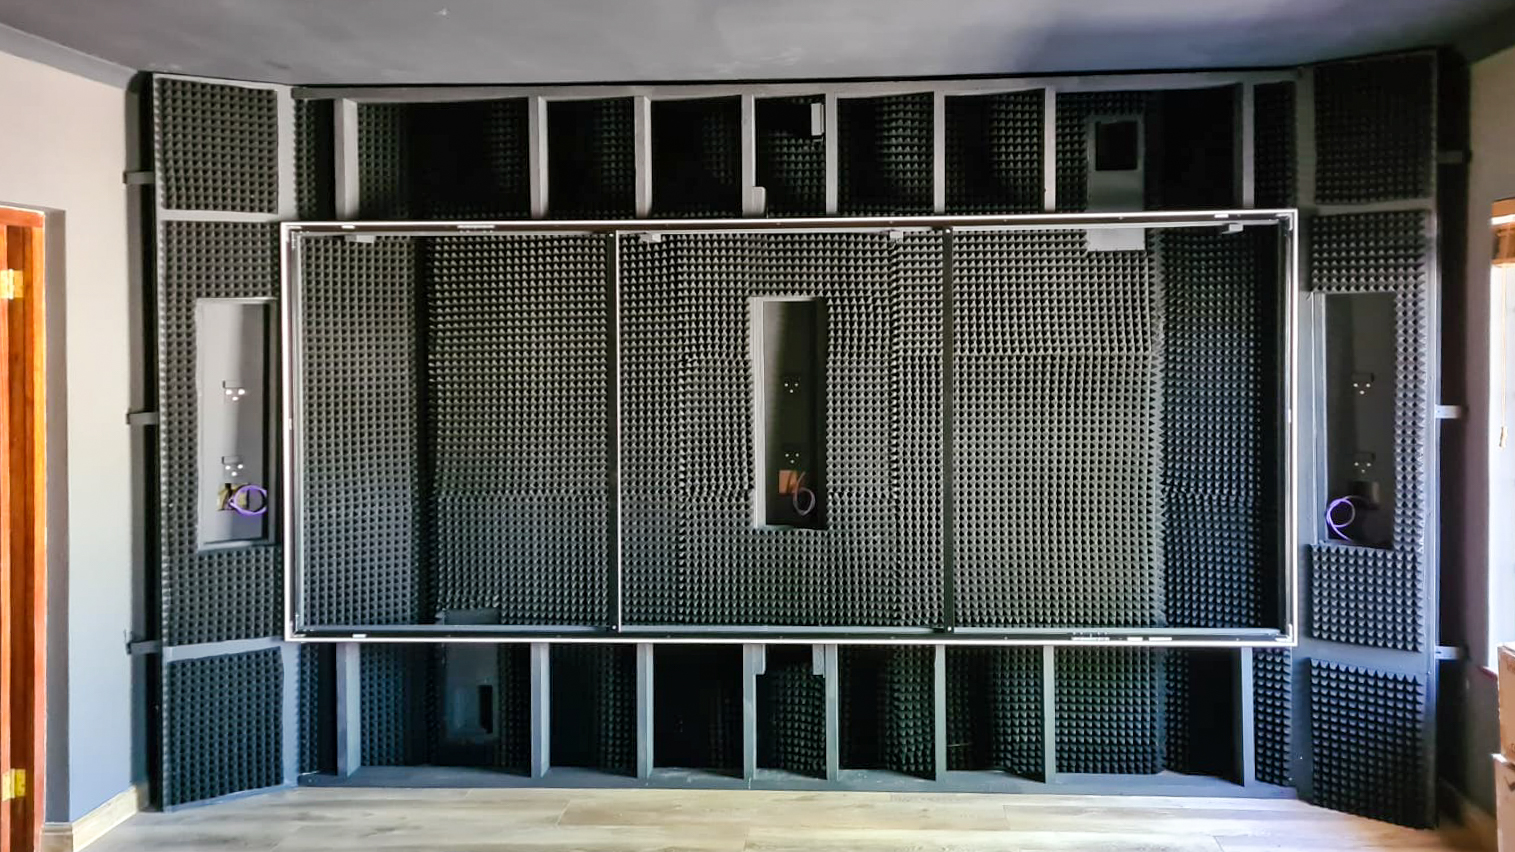
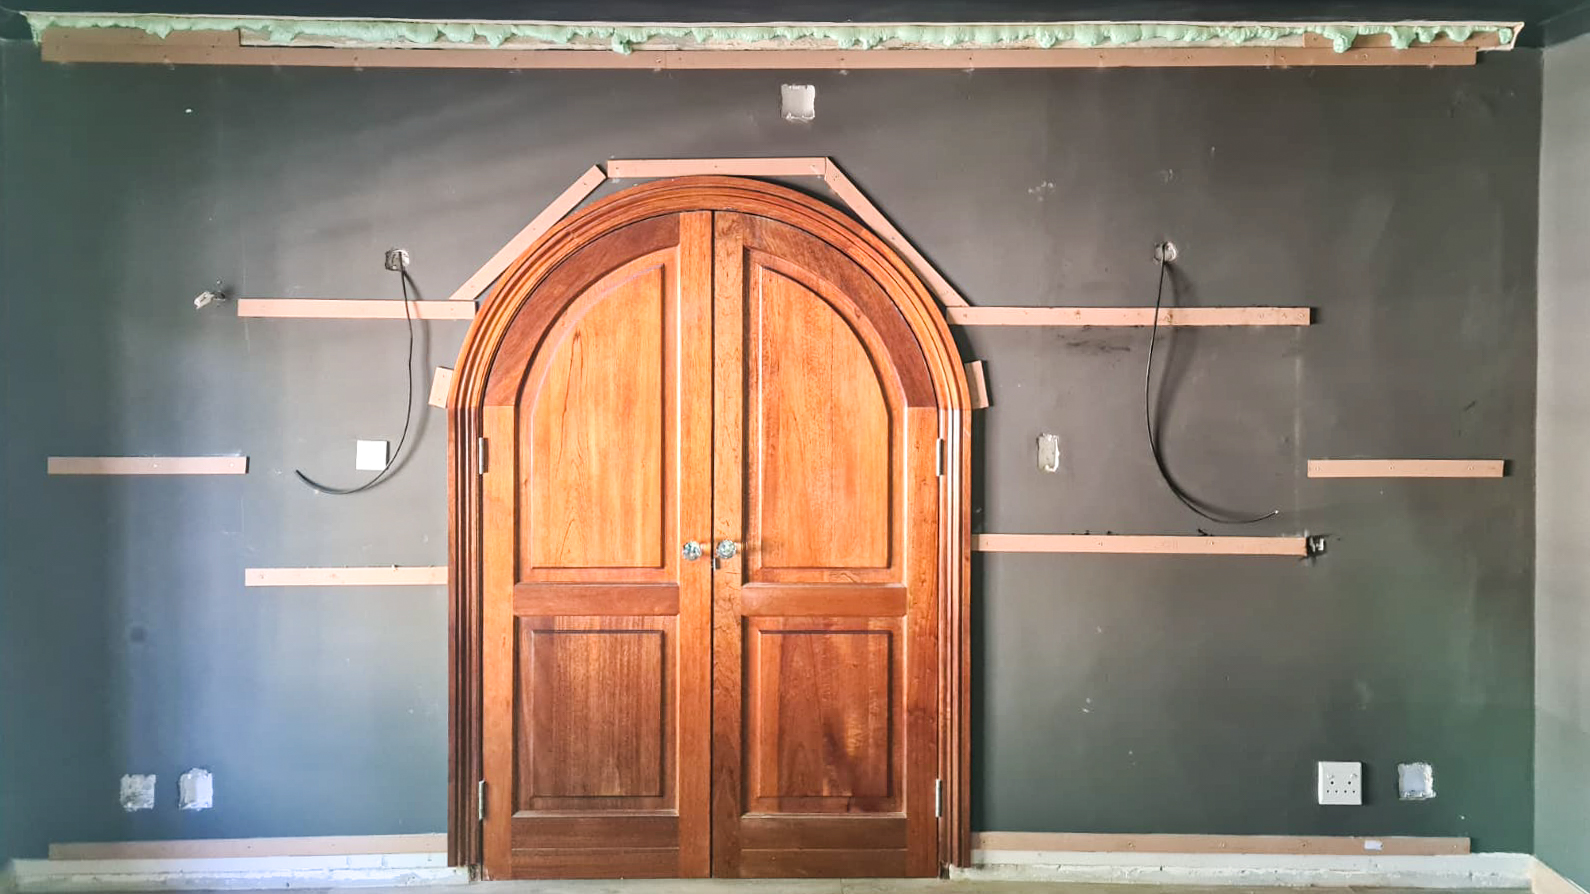
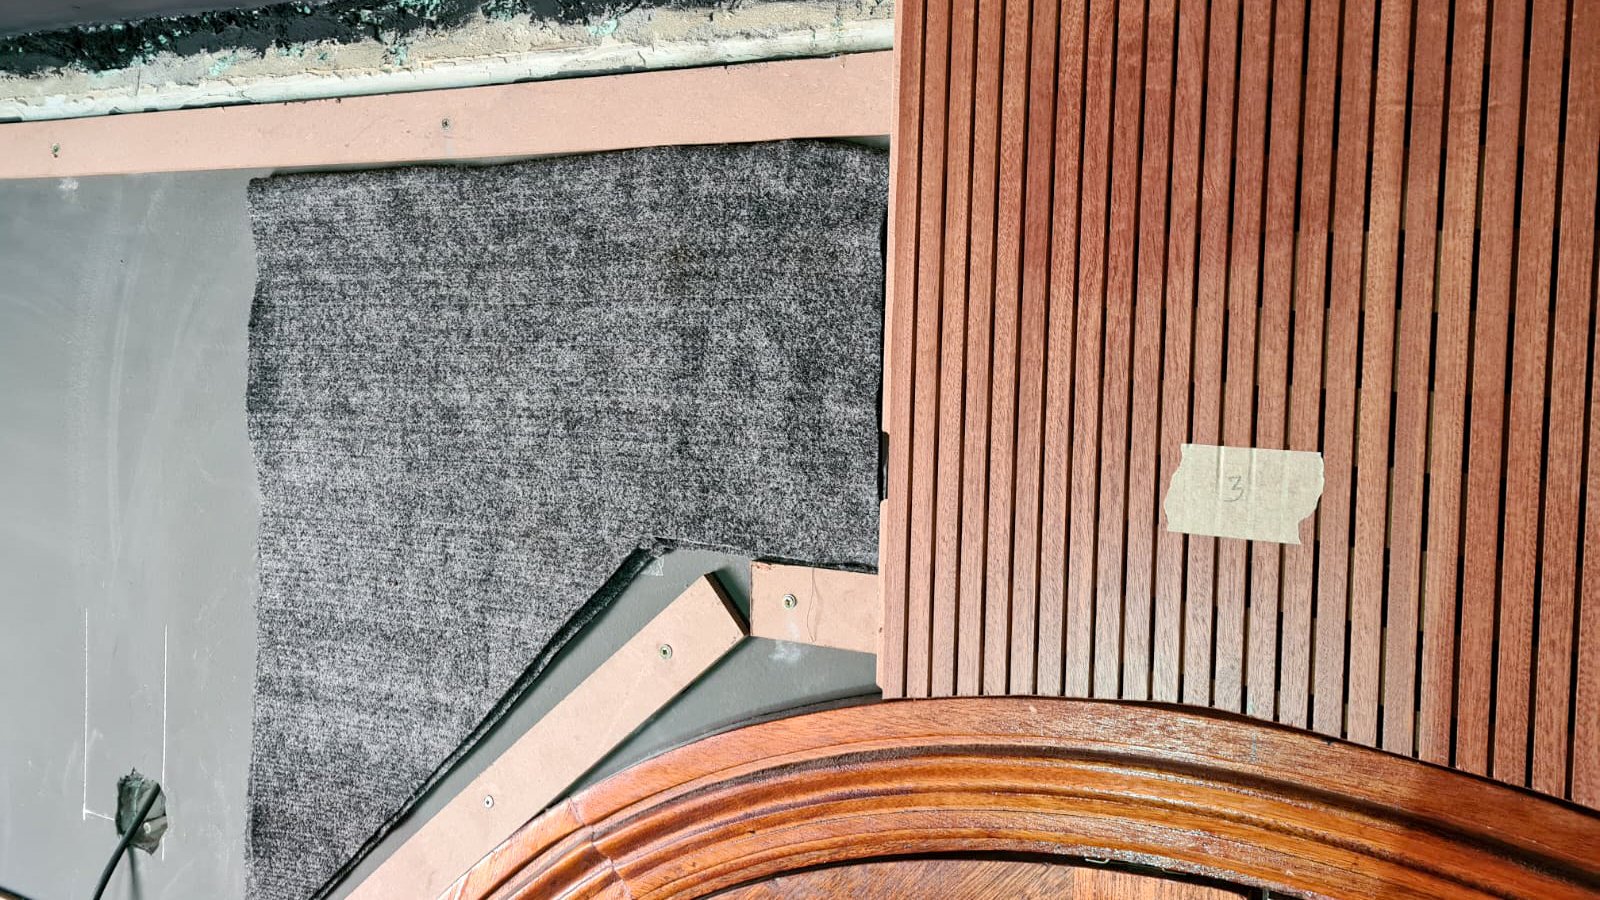
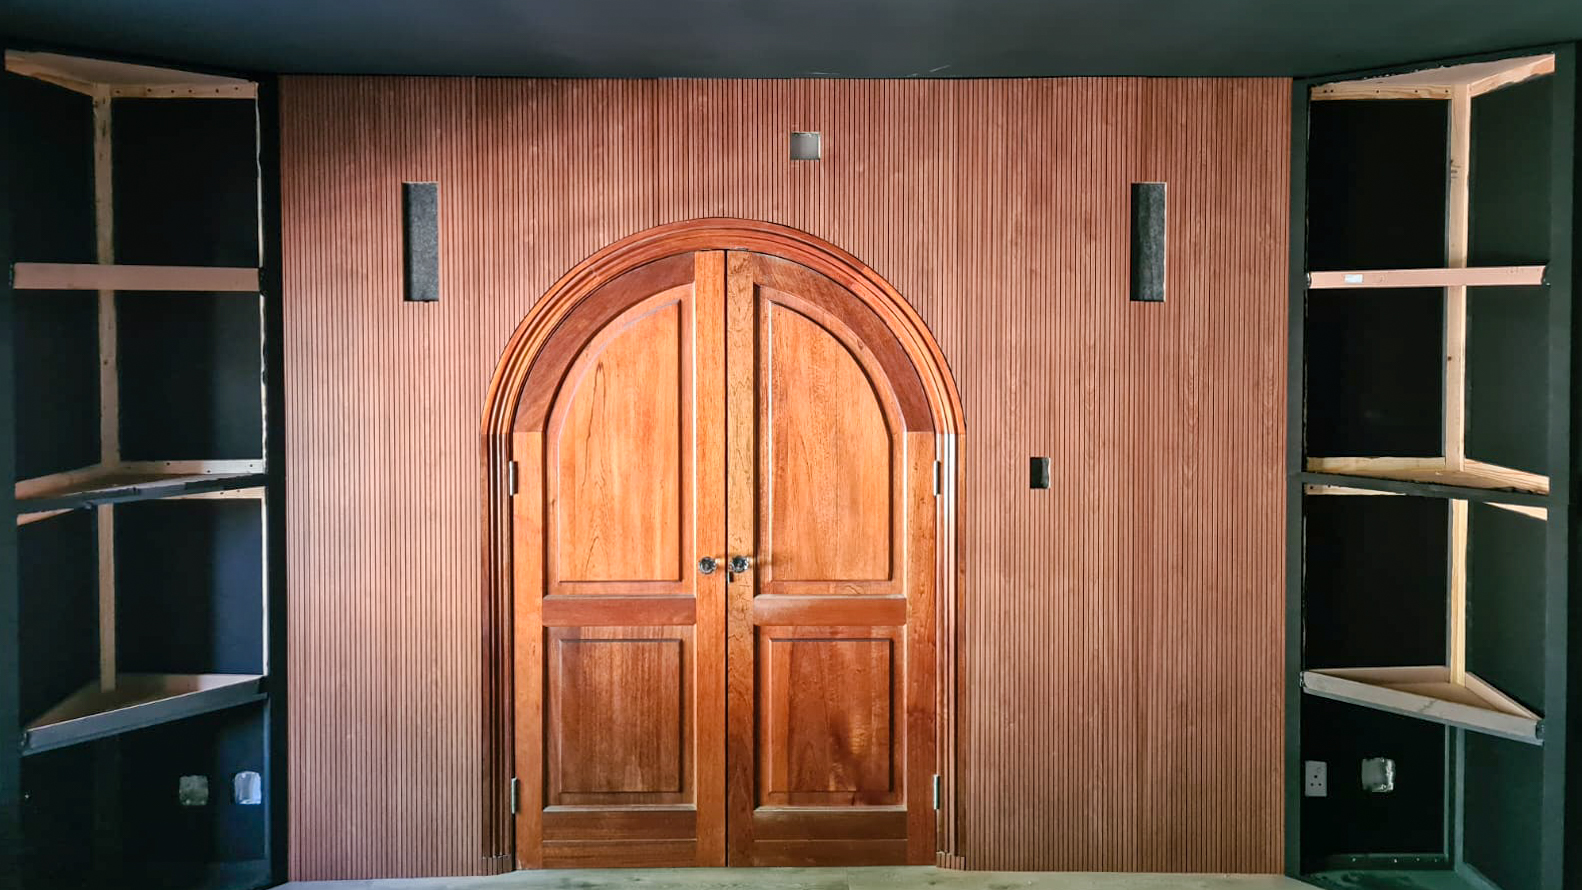
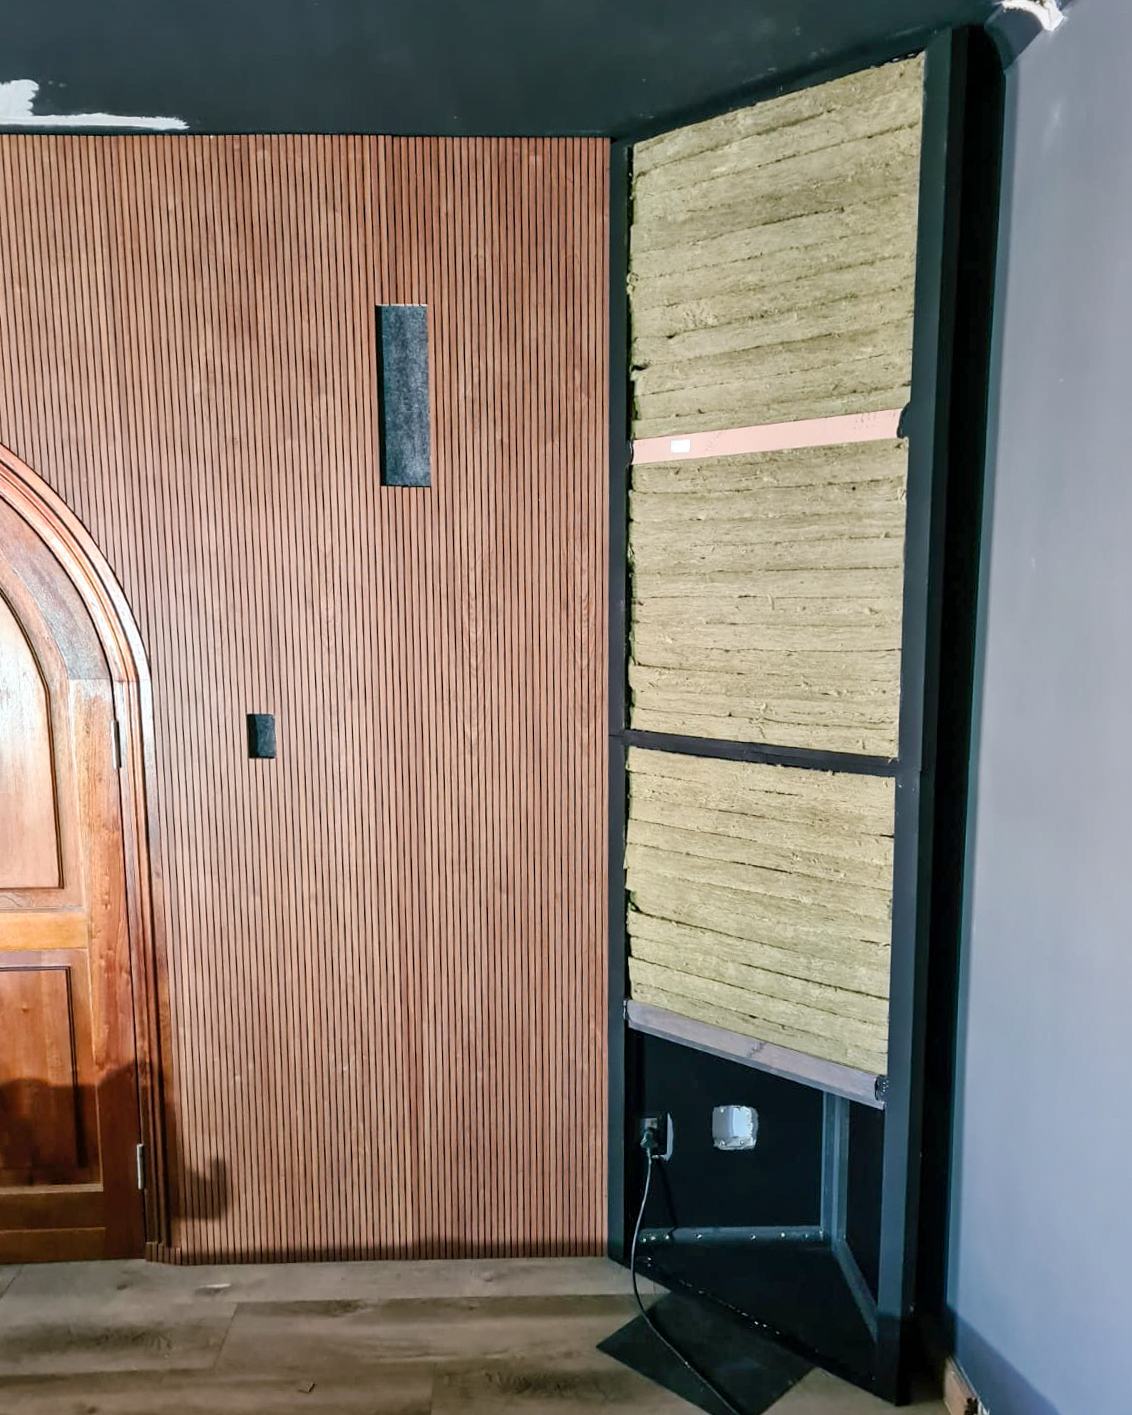
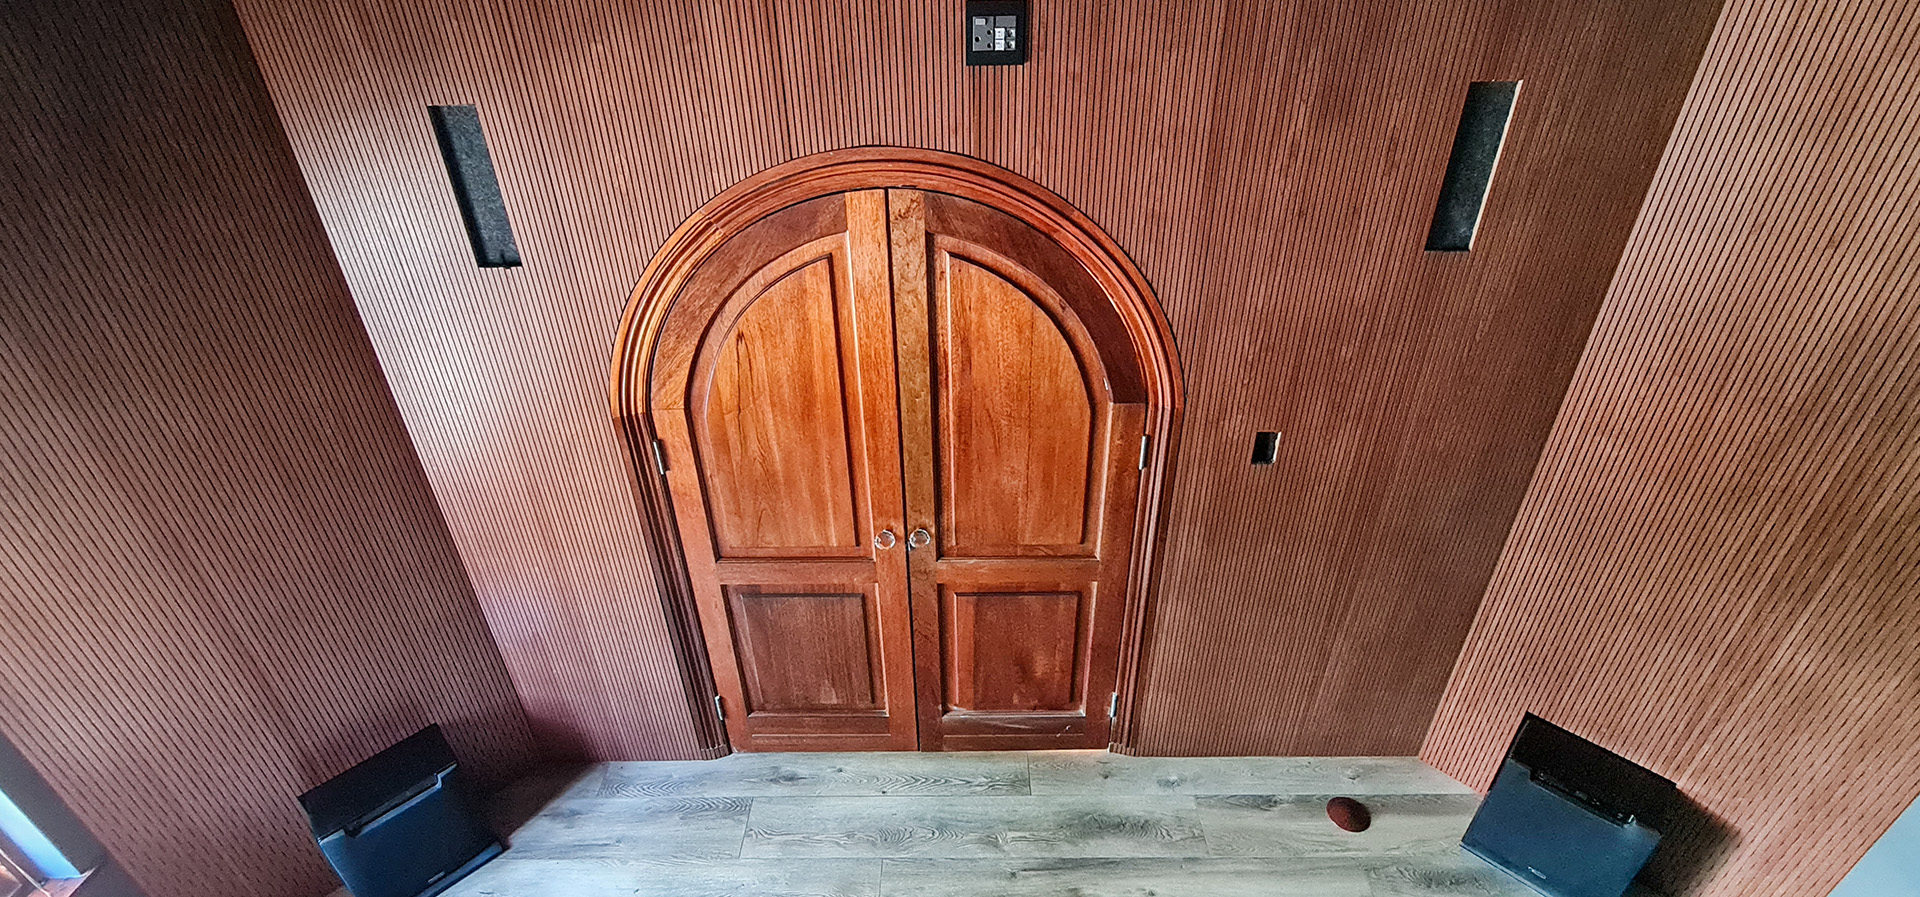
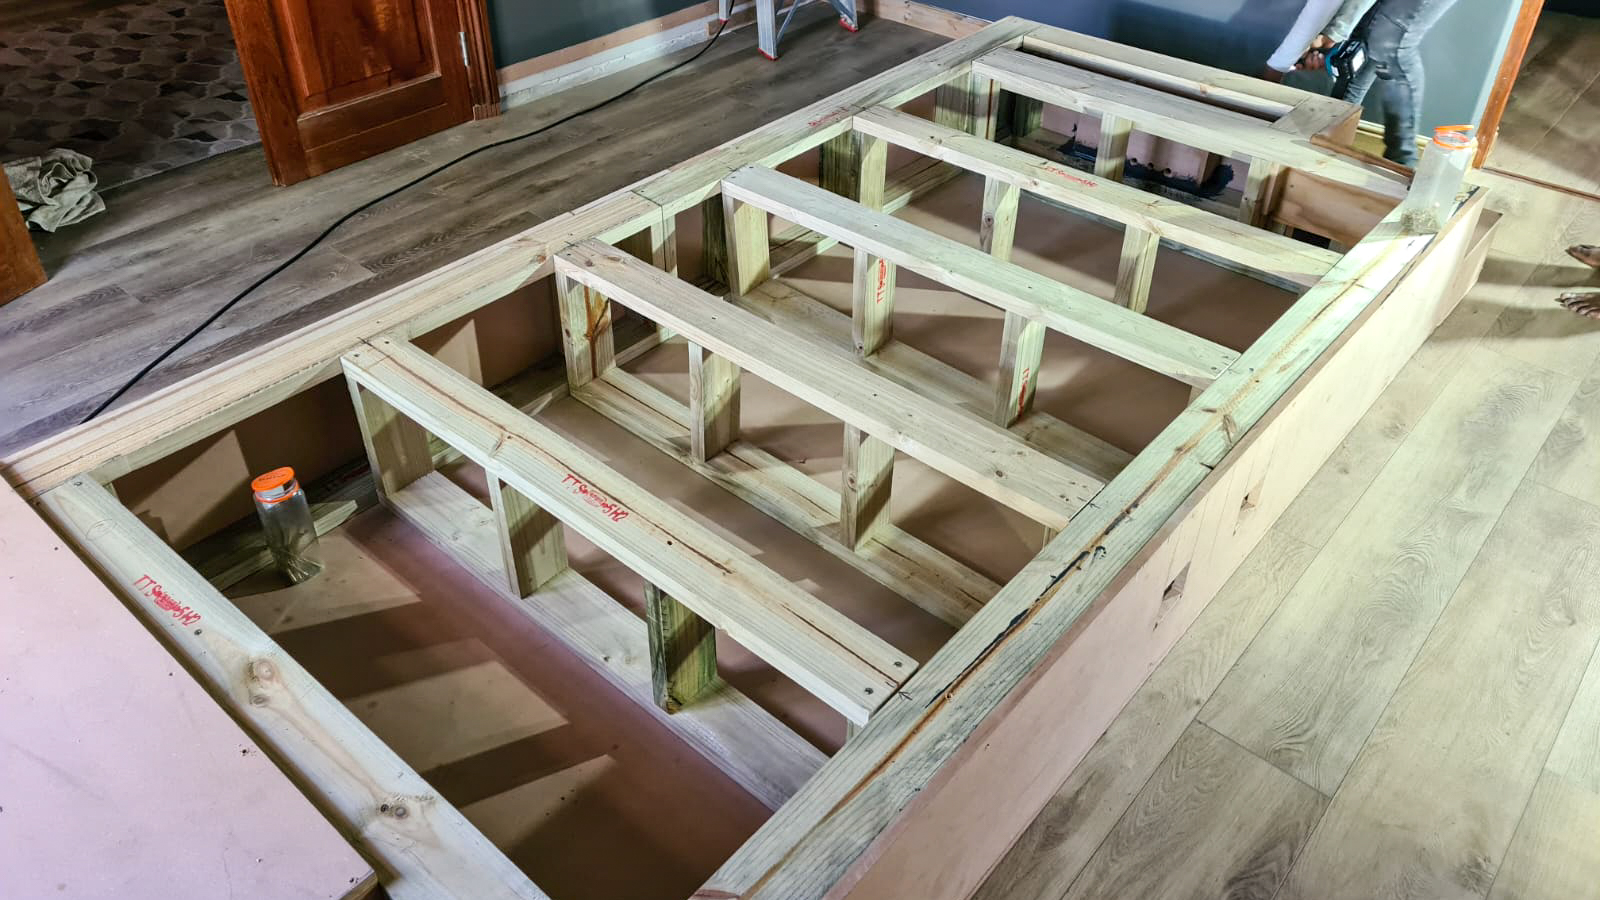
This article will predominantly be pictures of the installation, with captions explaining what you’re looking at.
Front Wall

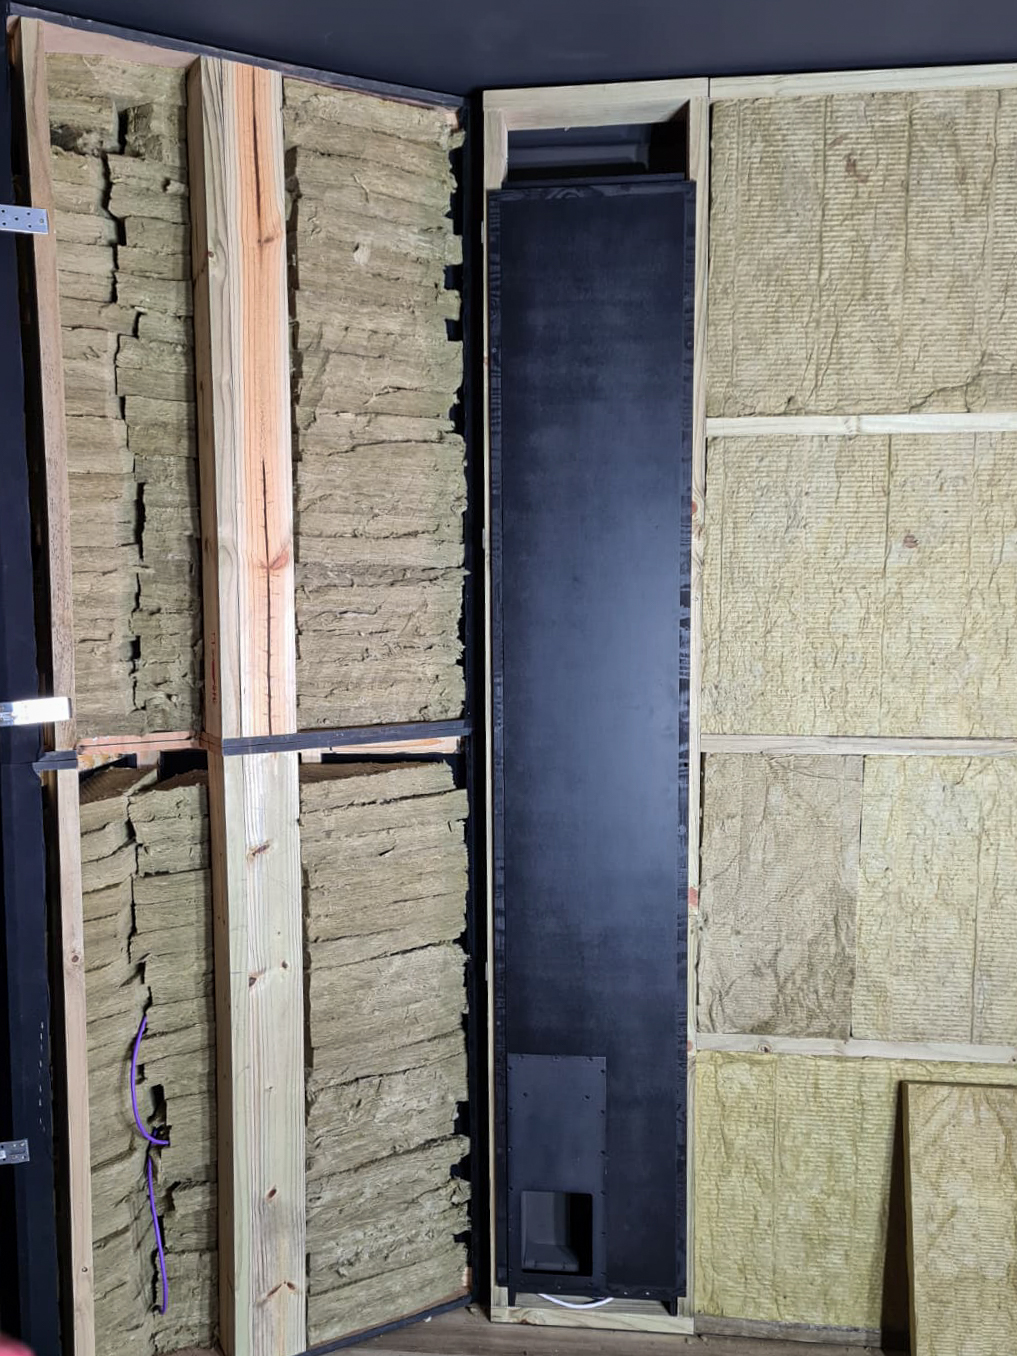
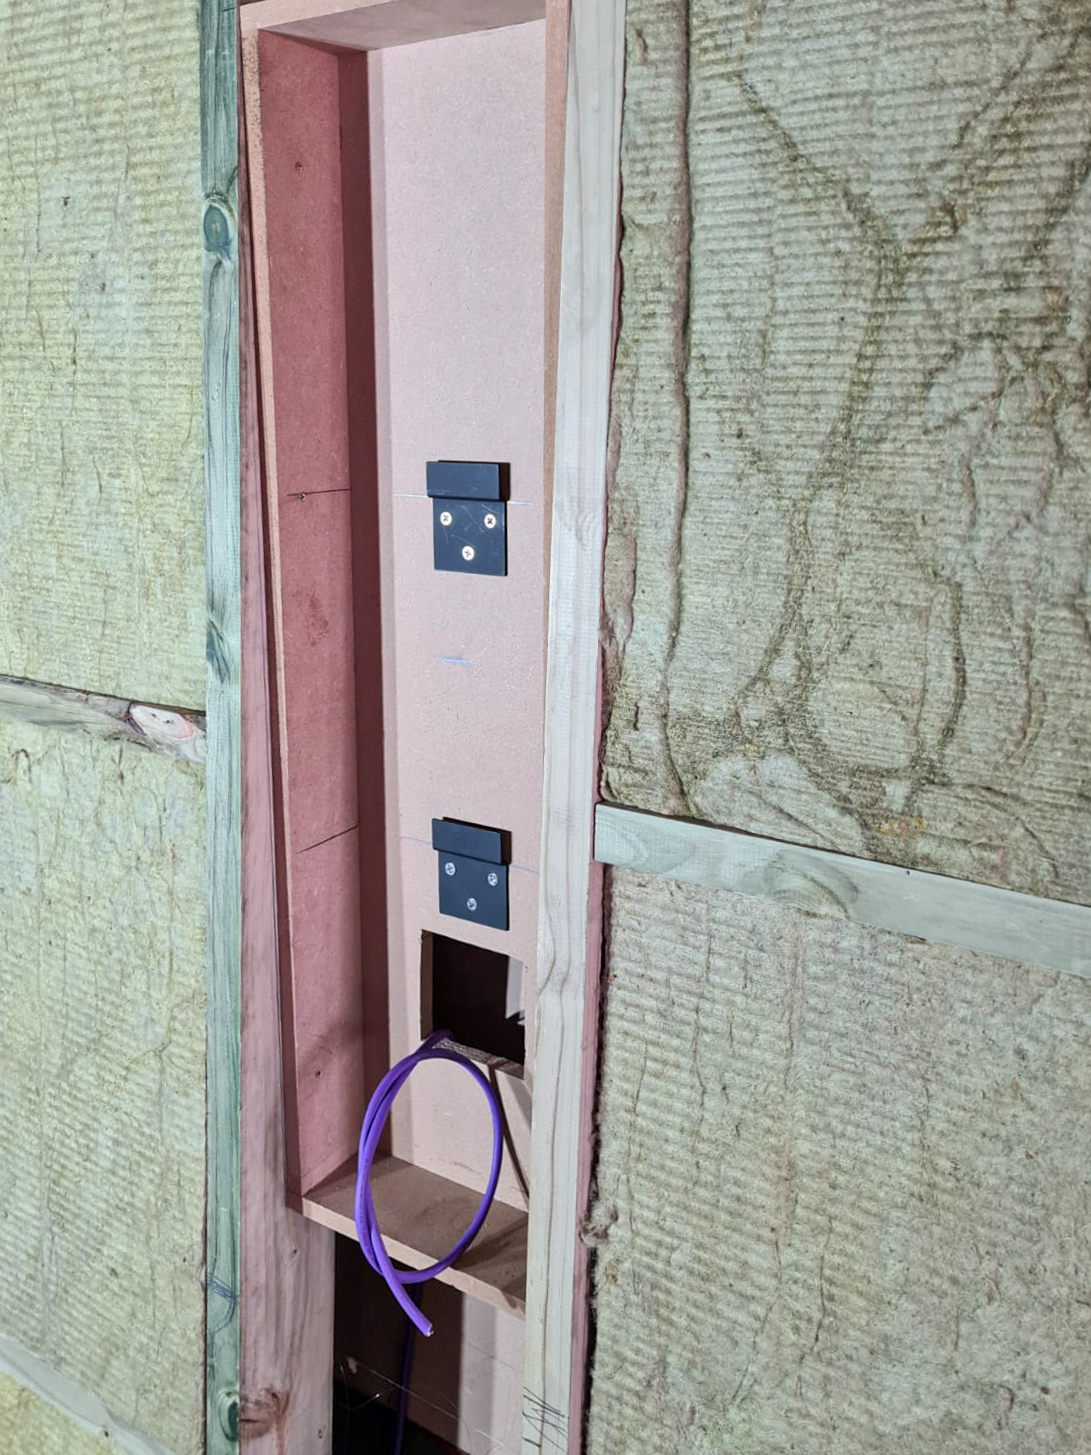

Rear Wall


Other


I hope this provides some insight into the installation process. In the following article, we’ll explore the final project photos and future upgrades.